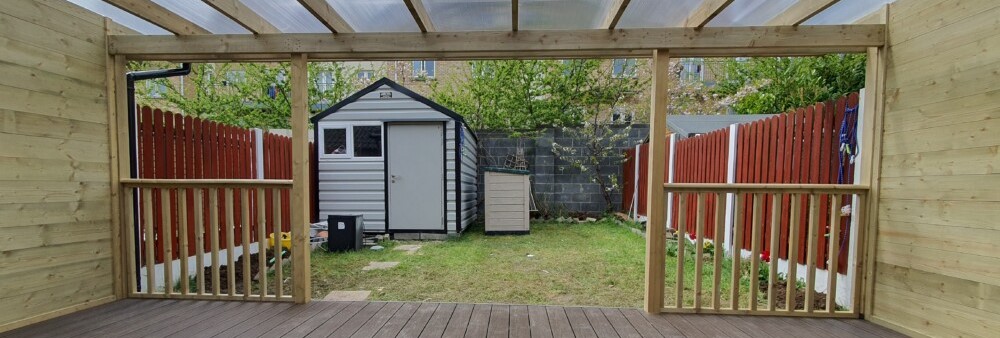

A Step-By-Step Guide To Install Your Composite Decking
Who doesn’t like to jazz up the look of their outdoor space? And the perfect way of doing it can be composite decking. Composite decking has changed the way our outdoor spaces look. It is one of the easy maintenance substitutes for your wooden decking. But the results can make your outdoor space heavenly.
Here are the 9 steps that you may have to go through for composite decking installing in your outdoor space:
1. Planning & Designing:
Like any other space and installation, you have to plan and design the installation of your composite decking. You must take into consideration various elements well before. Such as size, shape, stairs, railing and any other feature you might want to add. Along with this, you must also ensure you are not breaking any local building codes when you are at it.
2. Prepping The Site:
When you are installing your composite decking, you have to take into consideration several elements such as preparing the site. To prepare the site, you must clean the site from growing vegetation, debris and other obstacles. Along with that, you must also mark the perimeters to ensure you know what area you are working with.
3. Creating A Structure:
When you are installing a composite decking you have to create a structure. This structure is its basic framework. It will be made of solid frames, pressure-treated lumbar and installation of the joist to secure the ledger board & beam.
4. The Ledger Board:
To give your ledger board support, you need to screw the ledger board with the property. Once it is secure firmly and level, you can let this board give support to the other sides of the composite decking. This is another crucial step in installing composite decking.
5. Installing The Joist:
In this step, the experts on board will be installing the joist to the hanger and secure them with deck screws. This step is essential in securing your composite decking installation.
6. Position the deck boards.
To start the installation of composite decking, deck screws are used to secure the composite decking boards to the joists. Use the distance between boards as recommended by the manufacturer to allow for proper expansion and contraction. Take care to allow for expansion at the ends of each board due to temperature.
7. Trimming:
To get a smooth and uniform finish, using a circular saw the overhanging deck boards will be cut short and a clean polished edge will remain. Ensure all the cuts are uniform to enhance the appearance of the composite deck.
8. Accessorise:
Here, we will focus on all accessorising elements to add beauty to your composite decking. Such as the railing, stairs and more. It enhances the look of your installed composite decking.
9. Finishing Touches:
Lastly, you need to check for the finishing touches before completing the installation of the composite pergola. You need to check for any sharp edges, peeking screws and other safety hazards. You can also add other aspects such as painting, adding some more decorative pieces and more.
By following these simple nine steps, we will be installing your composite decking on your property. Once the installation is complete you can completely see the transformed appearance of your outdoor space and have a completely different-looking outdoor space. So, when are you getting your outdoor space revamped by installing your composite decking?